
Quick answer: Use 15–17g of medium-fine coffee with 200–250ml of water at 175–185°F (80–85°C). Inverted method: add coffee, pour water, stir, cap, steep 1:30–2:00 minutes, flip onto a mug, and press slowly for 20–30 seconds. Total brew time: 2–3 minutes.
The AeroPress is the most versatile home coffee brewer ever made. Created by Alan Adler in 2005, it uses air pressure and a short steep to produce a thick, rich coffee somewhere between espresso and drip — and it does it in under three minutes. There's an entire annual World AeroPress Championship because there are so many ways to brew with it well. This guide gives you the inverted method (the most popular among experienced brewers) plus the standard method, with techniques for dialing in your perfect cup.
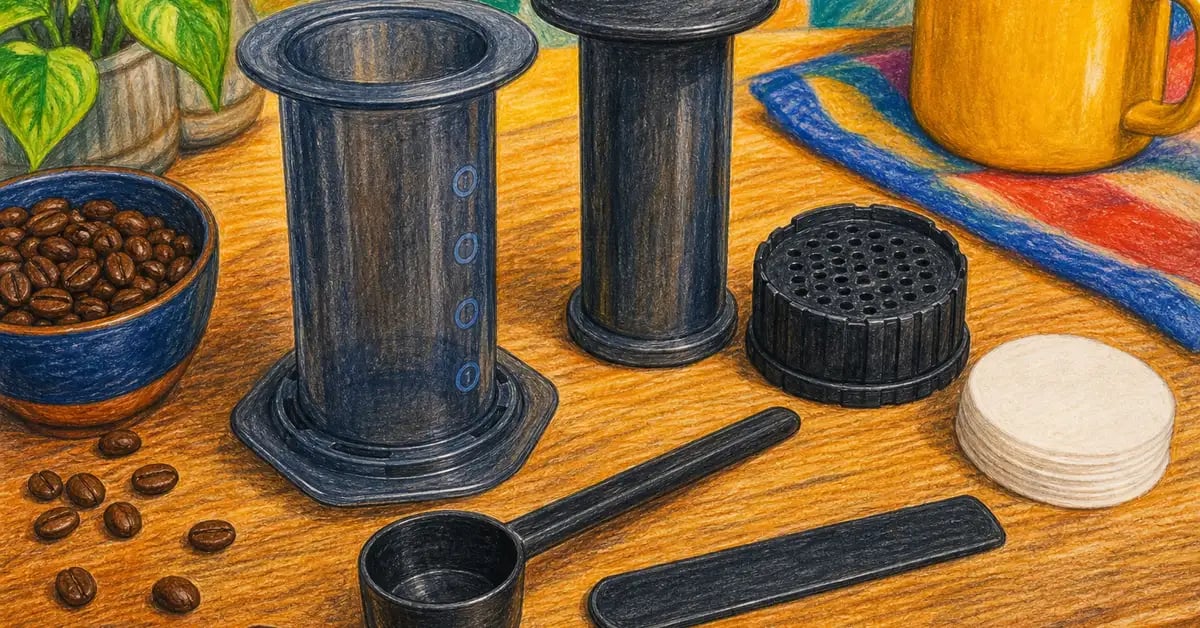
What You'll Need
- An AeroPress (Original, Go, or XL — same method applies to all)
- Paper filter (or metal filter for fuller body)
- 15–17g of medium-fine ground coffee
- 200–250ml of water heated to 175–185°F (80–85°C)
- A mug or vessel that fits under the AeroPress
- A stirrer (the AeroPress paddle works perfectly)
- A timer
Temperature note: The AeroPress works best at lower temperatures than most brew methods — 175–185°F (80–85°C) rather than 200°F (93°C). The shorter steep and pressure extraction compensates for the lower temperature, and cooler water reduces harshness. A thermometer or temperature-controlled kettle removes guesswork; otherwise, let boiled water sit for 2–3 minutes.
Method 1: The Inverted AeroPress (Recommended)
The inverted method prevents coffee from dripping through before you're ready, giving you more control over steep time. It's the preferred technique of most experienced AeroPress users and competitive brewers.
Step 1: Prep the AeroPress Inverted
Insert the plunger into the chamber approximately 1–2cm from the bottom (just enough to form a seal). Stand the AeroPress upside down — plunger down, open end facing up. This is the inverted position. Place it on a stable surface.
Step 2: Add Coffee and Water
Add 15–17g of medium-fine ground coffee to the chamber. Zero your scale if using one. Pour your water (175–185°F) directly over the grounds — pour slowly and ensure all the coffee is wet. For 15g of coffee, use 200–220ml of water.
Stir vigorously 5–10 times with the AeroPress paddle or a chopstick. Full saturation and agitation starts the extraction evenly from the first moment.
Step 3: Cap and Steep
While the coffee steeps, wet the paper filter in the filter cap under hot water (this removes any paper taste and helps it seal to the cap). Screw the filter cap onto the AeroPress. Start your timer. Steep for 1 minute 30 seconds to 2 minutes total — shorter for lighter roasts and finer grinds, longer for coarser grinds and darker roasts.
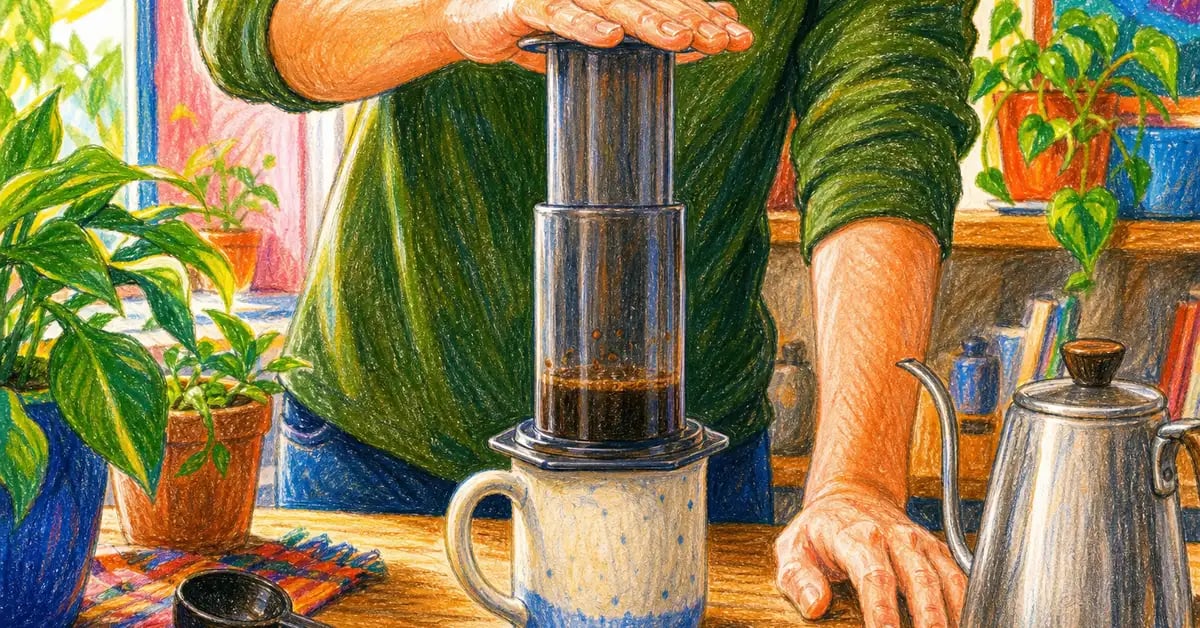
Step 4: Flip and Press
Place your mug upside-down over the filter cap, then in one smooth motion, flip the entire assembly over so the mug is now on the bottom and the AeroPress is right-side up on top of it. Press down slowly and steadily on the plunger. The entire press should take 20–30 seconds — if it takes less than 15 seconds, your grind is too coarse; if it takes more than 45 seconds, go coarser. Stop pressing when you hear a hissing sound — that's air coming through, which means all the coffee has been extracted.
Step 5: Dilute and Serve
The AeroPress produces a concentrated "espresso-style" shot of 30–60ml if you've used less water, or a full cup if you've used 200–250ml. If you want an Americano-style long coffee, add 50–100ml of hot water after pressing. For a latte, add steamed or frothed milk.
Taste the coffee as-is first. AeroPress coffee is naturally richer and slightly sweeter than drip. If it tastes too intense, add hot water. If it tastes watery, reduce your water or use more coffee next time.
Method 2: Standard (Non-Inverted) AeroPress
The standard method is simpler and better for beginners. The tradeoff is that coffee can drip through the filter before you start pressing.
- Wet the paper filter and lock the filter cap onto the chamber. Place the AeroPress right-side up on your mug.
- Add 15g of coffee. Pour 200ml of water at 80°C immediately and stir for 10 seconds.
- Insert the plunger gently — just enough to create a seal without pressing — to prevent drip-through.
- Steep 1 minute, then press slowly for 20–30 seconds.
- Stop when you hear hissing. Done.
AeroPress Tips for a Better Cup
6 Tips for Better AeroPress Coffee
- Brew cooler than you expect — 175–185°F (80–85°C) is the AeroPress sweet spot. Hotter water emphasizes bitterness; cooler brings out sweetness.
- Don't overthink the grind — the AeroPress is forgiving. Start medium-fine and adjust from there based on taste.
- Stir properly after adding water — 5–10 vigorous stirs ensure full saturation. Half-stirred coffee extracts unevenly.
- Press gently and slowly — 20–30 seconds total. Hard, fast pressing forces bitter compounds through.
- Experiment with steep time — add 30 seconds and taste the difference. The AeroPress rewards curiosity.
- Try a metal filter — metal filters produce a fuller, heavier body with more oils than paper. Worth trying if you usually enjoy French press coffee.
AeroPress Troubleshooting
| Problem | Likely Cause | Fix |
|---|---|---|
| Bitter taste | Water too hot, grind too fine, or steep too long | Lower temp to 80°C; coarsen grind; reduce steep to 1:00 |
| Sour or thin taste | Under-extracted: steep too short or grind too coarse | Steep 2 min; fine up grind; stir more aggressively |
| Press requires too much force | Grind too fine | Coarsen grind one step |
| Press goes too fast (<15 sec) | Grind too coarse | Fine up the grind |
| Leaks during inverted flip | Filter cap not screwed on tightly; or overfilled | Screw cap firmly; keep water level below the top of the chamber |
How We Researched This Guide
AeroPress brewing parameters in this guide draw on the SCA brewing standards, the World AeroPress Championship published recipes, and the AeroPress manufacturer's own brewing documentation. Temperature, grind, and steep time recommendations are consistent with widely accepted specialty coffee practice. We don't operate a physical testing lab — these recommendations are research-led.
Thinking About an AeroPress?
See our comparison of all 8 AeroPress models — Original, Go, XL, Clear, and more — plus the best accessories for grinding, filtering, and dialing in your recipe.
See All AeroPress Models →Frequently Asked Questions About AeroPress Brewing
Is the inverted or standard AeroPress method better?
Both produce excellent coffee; the inverted method gives you more control because it prevents drip-through during the steep. Most experienced AeroPress users prefer inverted. That said, the standard method is simpler to learn and perfectly effective — many World AeroPress Championship winners have used standard technique. Start with whichever feels more intuitive; switch to inverted once you're comfortable.
What coffee grind works best for AeroPress?
Medium-fine is the versatile starting point — similar to espresso but a little coarser. The AeroPress is remarkably forgiving: fine grinds produce richer, more intense coffee; coarser grinds produce lighter, cleaner cups. The press resistance tells you a lot — if it's very hard to press, go coarser; if the plunger slides right through, go finer. Adjust in small increments.
Can you make espresso with an AeroPress?
Not technically. Espresso requires 9 bars of pressure; the AeroPress generates roughly 0.5–1 bar. What the AeroPress produces is a concentrated, espresso-style coffee that can work as a base for milk drinks and has some similar characteristics — but it won't have crema and won't taste identical to a machine-pulled shot. For espresso-style AeroPress, use a very fine grind, very little water (80ml), and press firmly.
How do you clean an AeroPress?
The AeroPress is one of the easiest brewers to clean. After pressing, remove the filter cap, hold the AeroPress over a trash can, and push the plunger fully through — the used puck pops out cleanly. Rinse the chamber and plunger under water. No soap needed for daily use. The entire device can go in the dishwasher; the rubber seal is dishwasher-safe and typically lasts several years.
What's the difference between AeroPress models?
The original AeroPress brews 1–3 cups; the AeroPress Go is smaller and travel-focused with a mug that doubles as a carrying case; the AeroPress XL brews up to 4 cups; the AeroPress Clear is the same as the original but made from transparent Tritan plastic for visibility. All use the same brewing method and produce the same quality of coffee. See our full AeroPress comparison guide for a model-by-model breakdown.
Sources: Specialty Coffee Association Brewing Protocols; AeroPress Inc. product documentation; World AeroPress Championship published recipes; peer-reviewed coffee extraction research.